10 Keys to Improving Decorated Cookies {If you’re not already doing them}
These are just a few simple things which would have saved me some frustration had I known them when I first began decorating cookies. I still make some of these mistakes now and then, especially if I’m in a rush, which leads me to my first point…
 Time – If possible, give yourself enough time to make your cookies so that you enjoy the experience more and fewer mistakes occur. Of course, that’s not always feasible, especially if running a business, but as much as possible, make sure you’re not rushed or pressured.
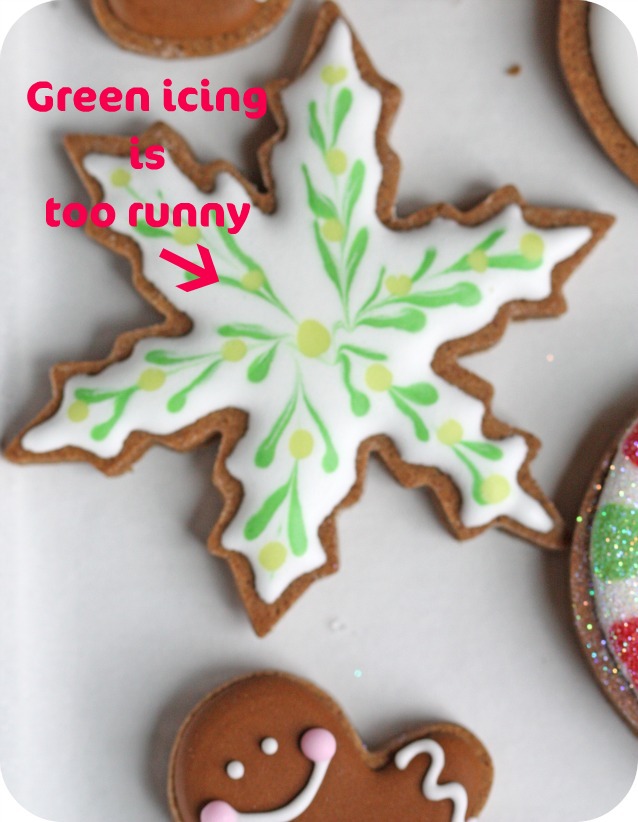
 Mixing food paste or gel colors – Make sure the coloring is thoroughly mixed into the icing. When it’s not, you’ll often see a ’streaking’ effect once the icing is applied (See image below). This can also happen if your icing is too runny or when the water separates from the icing sugar (More on that coming up).
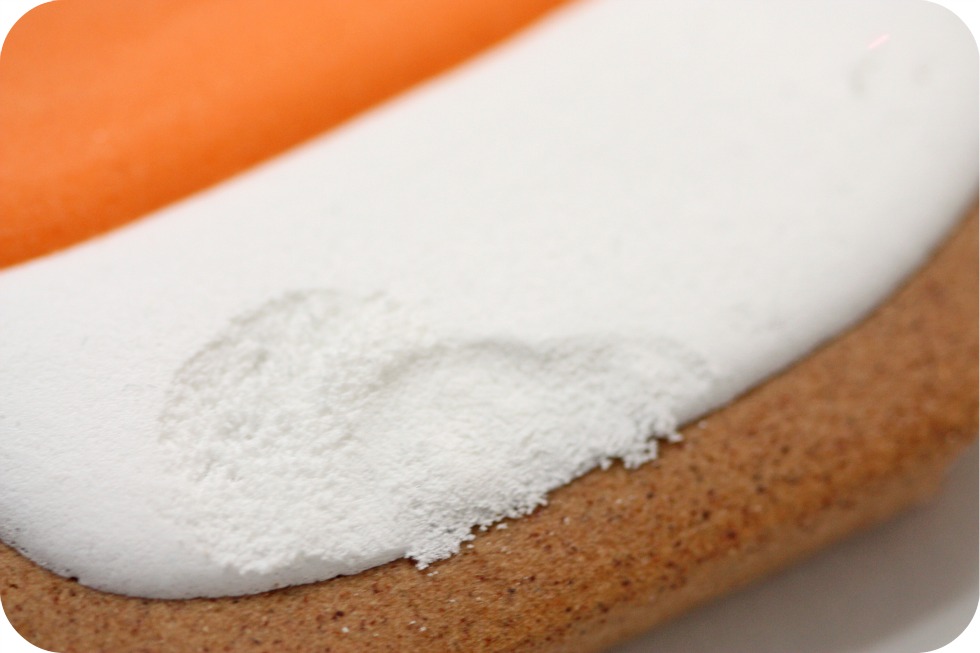
 Avoid over mixing royal icing – When making your royal icing, over mixing it can create a sponge-like texture when the icing dries. Too much air gets incorporated and when the icing is dry, it easily crumbles when touched.
In this case, over mixing means quite a while; the royal icing in this image had been mixed on low speed in my kitchen aide mixer for a good 20-30 minutes! {Or more? I had forgotten about it ![]() }.
}.
 Consistency of icing – The consistency of your icing is key for decorating success. Different consistencies can be useful for different purposes. For more detail, use a thicker icing, for a smoother finish, a runnier icing. For outlining and flooding the cookie right away, I use the 10 second rule.
The 10 second rule: Drag a butter knife through the surface of your royal icing and count to 10. If the icing surface becomes smooth in anywhere between 5-10 seconds, then your icing is ready to use. If it takes longer than approximately 10 seconds, the icing is too thick. Slowly add more water. If your icing surface smoothes over in less than 5-10 seconds, it is too runny. Mix your icing longer or slowly add more sifted icing sugar to thicken it.
 Runny royal icing – This ties in with icing consistency, but is worth mentioning on its own. If the icing is too runny it will flow too quickly out of the piping tip, making it difficult to control how you pipe, especially for outlining.
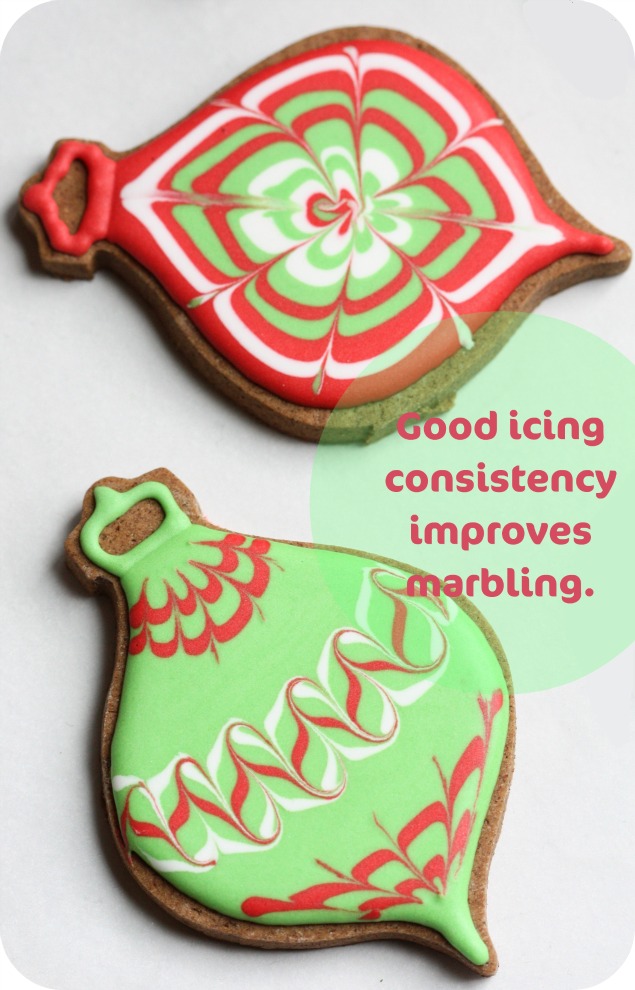
Runny icing is great for marbling, but even marbling isn’t as successful when the icing is too thin.
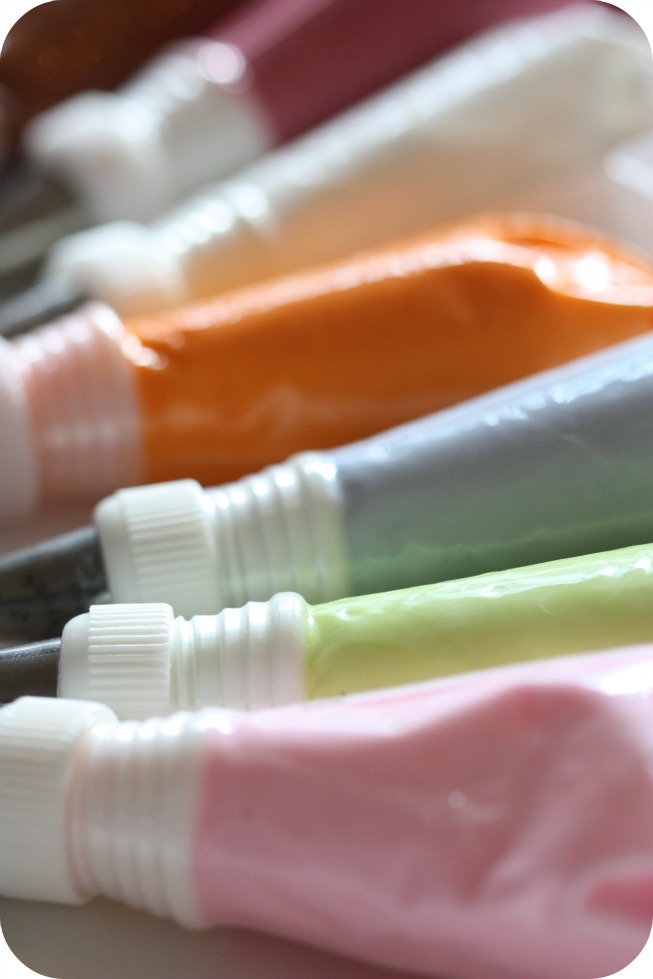
 Make fresh piping bags each time – The water and icing sugar in your royal icing will separate over time. How long it takes to separate depends on how runny your icing is; mine usually takes at least 4 hours or more before it begins to separate.
It’s for this reason that you cannot leave your icing in the piping bags for a long periods, for example overnight, and continue decorating with the same bags. The water will pool in the piping bag and on your cookie when you go to apply it.
 Planning your cookie design – Make sure you’re able to do a particular design before you say yes to it. Years ago I said yes to a friend who had asked for 100 motorcycle cookies. When I realized how detailed they would have to be to look good and when I realized I wasn’t capable of implementing the design (I didn’t have the KopyKake then and I’m really not good at drawing freehand), I had to go back to her and ask her to pick something else.
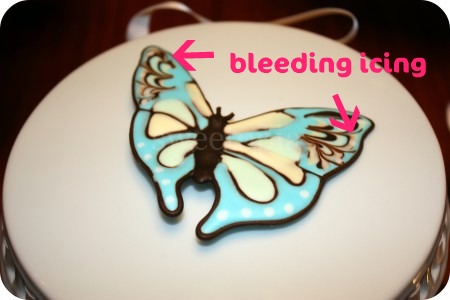
 Bleeding - Whenever using intense color such as red or black, bleeding seems to happen more. The best way to prevent bleeding is to minimize the amount of humidity the cookies are exposed to (de-humidifier, air conditioning, air-tight storage once they`re dry). More on preventing bleeding here.
 Tint your white icing white – Confused yet? When I first began decorating I would leave my royal icing I was using for white cookies, untinted. The difference is subtle, but to avoid an off-white look, actually color your royal icing white. The snowflake above is an example of untinted royal icing, and the snowman is an example of icing tinted white.
 Practice! – Although these tips all contribute to decorating success, good old-fashioned practice always helps!
*
*
For more detail and cookie decorating tips please check out my Cookie Decorating Tutorial or my Top 10 Tips. If you have any tips which you’d like to share you’re welcome to leave a comment below.
Happy decorating!
Sphere: Related Content
![Validate my Atom 1.0 feed [Valid Atom 1.0]](valid-atom.png)





Nenhum comentário:
Postar um comentário